
Hey there, hoodie enthusiasts! Are you ready to take your DIY fashion game to the next level? Today, we’re diving into the world of how to bleach a hoodie – a fun and creative way to add a personal touch to your wardrobe. As a leather jacket enthusiast with a passion for all things fashion, I’m here to guide you through the step-by-step process of bleaching your hoodie like a pro.
Understanding to Bleach a Hoodie
Bleaching Basics
First things first – let’s talk about how to bleach a Hoodie. Bleaching is a chemical process that removes color from fabric, leaving behind a faded or “bleached” effect. It works by breaking down the pigments in the fabric, resulting in lighter or white areas.
Safety First
Before we dive into the fun stuff, it’s important to talk about safety. Bleach can be harsh on your skin and lungs, so it’s essential to work in a well-ventilated area and wear protective gear like gloves and a mask. Trust me, you don’t want to end up with bleach burns or breathing in those fumes!
Types of Bleach
When it comes to bleaching your hoodie, you have a couple of options to choose from. Chlorine bleach is the most common type and is great for achieving bold, bright results. Oxygen bleach, on the other hand, is gentler and safer to use on colored fabrics. Depending on the look you’re going for and the color of your hoodie, you’ll want to choose the bleach that’s right for you.
Preparing Your Hoodie for Bleaching
Choosing the Right Hoodie
Not all hoodies are created equal when it comes to bleaching. Natural fibers like cotton and linen tend to bleach more evenly and predictably than synthetic fibers like polyester. So, if you want the best results, opt for a hoodie made from natural materials.
Design Planning
Now comes the fun part – planning your bleach design! Whether you’re going for a classic tie-dye look or a more intricate pattern, it’s important to sketch out your design beforehand. This will help you visualize the final result and ensure that you’re happy with the outcome.
Gathering Materials
Once you’ve got your design figured out, it’s time to gather your materials. You’ll need bleach, water, gloves, a mask, a spray bottle or sponge, and some old towels or rags to protect your work surface. Oh, and don’t forget your hoodie, of course!
Step-by-Step Guide to Bleaching Your Hoodie
Preparing the Bleach Solution
Start by diluting your bleach with water to create a bleach solution. The exact ratio will depend on the concentration of your bleach and the look you’re going for, so it may take some trial and error to get it just right. Once you’ve mixed up your solution, pour it into a spray bottle or dip your sponge into it.
Applying the Bleach
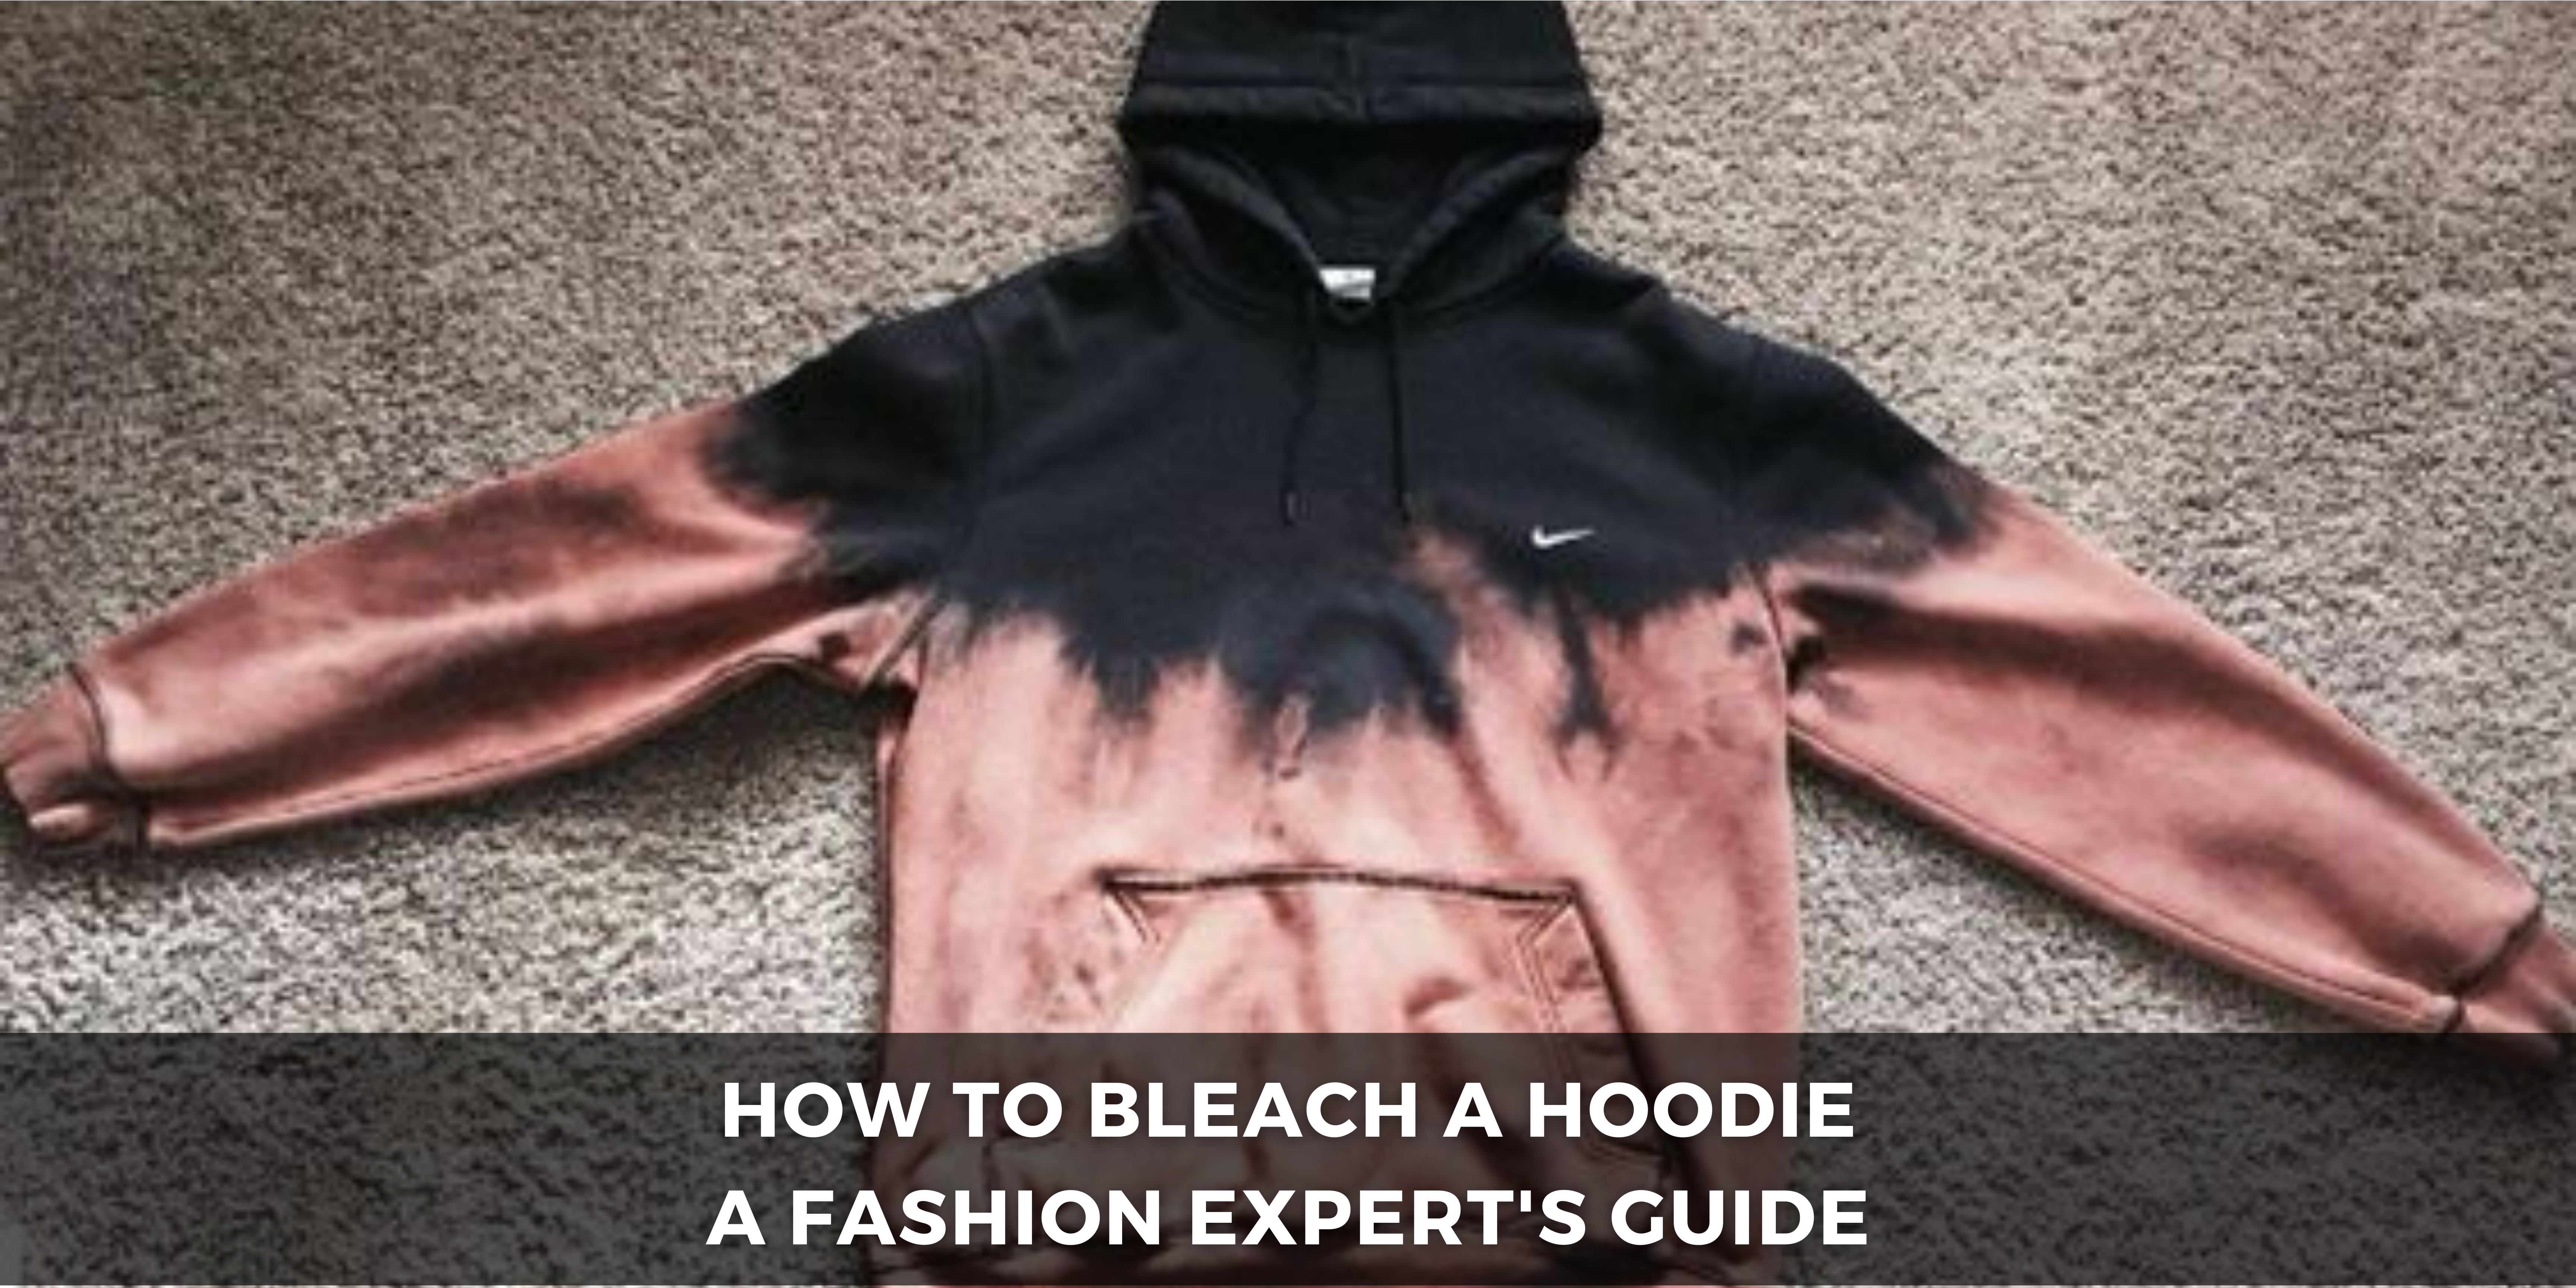
Now for the fun part – applying the bleach to your hoodie! Depending on your design, you can spray the bleach directly onto the fabric, use a sponge to dab it on, or even tie dye it for a more organic look. Just be sure to work quickly and evenly to avoid any streaks or blotches.
Monitoring the Process
As the bleach works its magic, you’ll start to see the color of your hoodie change before your eyes. Keep an eye on it as it bleaches, and be prepared to adjust your technique if necessary. Remember, patience is key – it may take some time to achieve the desired level of lightness.
Rinse and Neutralize
Washing Your Hoodie
Once you’re happy with the bleaching process, it’s time to rinse out the bleach. Head to the sink or bathtub and rinse your hoodie thoroughly with cold water until the water runs clear. This will help remove any excess bleach and prevent it from continuing to bleach the fabric.
Neutralizing the Bleach
To neutralize the bleach and stop the bleaching process, soak your hoodie in a solution of water and vinegar or a neutralizing agent like sodium bisulfite. Let it sit for a few minutes, then rinse it again with cold water to remove any remaining bleach residue.
Washing and Drying
Finally, give your hoodie a final rinse in cold water and then wash it with a mild detergent to remove any lingering bleach smell. Hang it up to dry in a well-ventilated area, and voila – your bleached hoodie is ready to wear!
Customization and Personalization
Adding Extra Details
Now that you’ve mastered the art of bleaching, why not take it a step further and add some extra details to your hoodie? Try adding patches, embroidery, or even studs for a unique and personalized touch.
Styling Tips
When it comes to styling your bleached hoodie, the sky’s the limit! Pair it with your favorite jeans and sneakers for a casual, laid-back look, or dress it up with a skirt and boots for a more polished ensemble. Don’t be afraid to experiment and have fun with your new DIY creation.
Sharing Your Creation
And of course, don’t forget to share your masterpiece with the world! Snap a pic and share it on social media to inspire others to get creative with their own bleached hoodies. Who knows – you might just start a bleaching revolution!
Troubleshooting and Tips
Dealing with Uneven Bleaching
If your hoodie ends up with some uneven bleaching, don’t panic – there are ways to fix it! You can try re-bleaching the affected areas or even adding more bleach to create a deliberate ombré effect. And if all else fails, you can always embrace the imperfections – after all, they’re what make your hoodie unique!
Fixing Mistakes
If you make a mistake while bleaching your hoodie, don’t worry – it happens to the best of us! Depending on the severity of the mistake, you may be able to salvage your hoodie with a little creative thinking. Worst-case scenario, you can always turn it into a crop top or cut-off sleeves for a whole new look.
Experimenting and Learning
Finally, don’t be afraid to experiment and learn from your mistakes. Bleaching is a fun and creative process, and the more you practice, the better you’ll get. So don’t be afraid to try new techniques, explore different designs, and see where your creativity takes you!
And there you have it – everything you need to know to bleach a hoodie like a pro! Whether you’re a seasoned DIY enthusiast or a complete beginner, I hope this guide has inspired you to get creative and add a personal touch to your wardrobe. So grab your bleach and your favorite hoodie, and let’s get bleaching!