
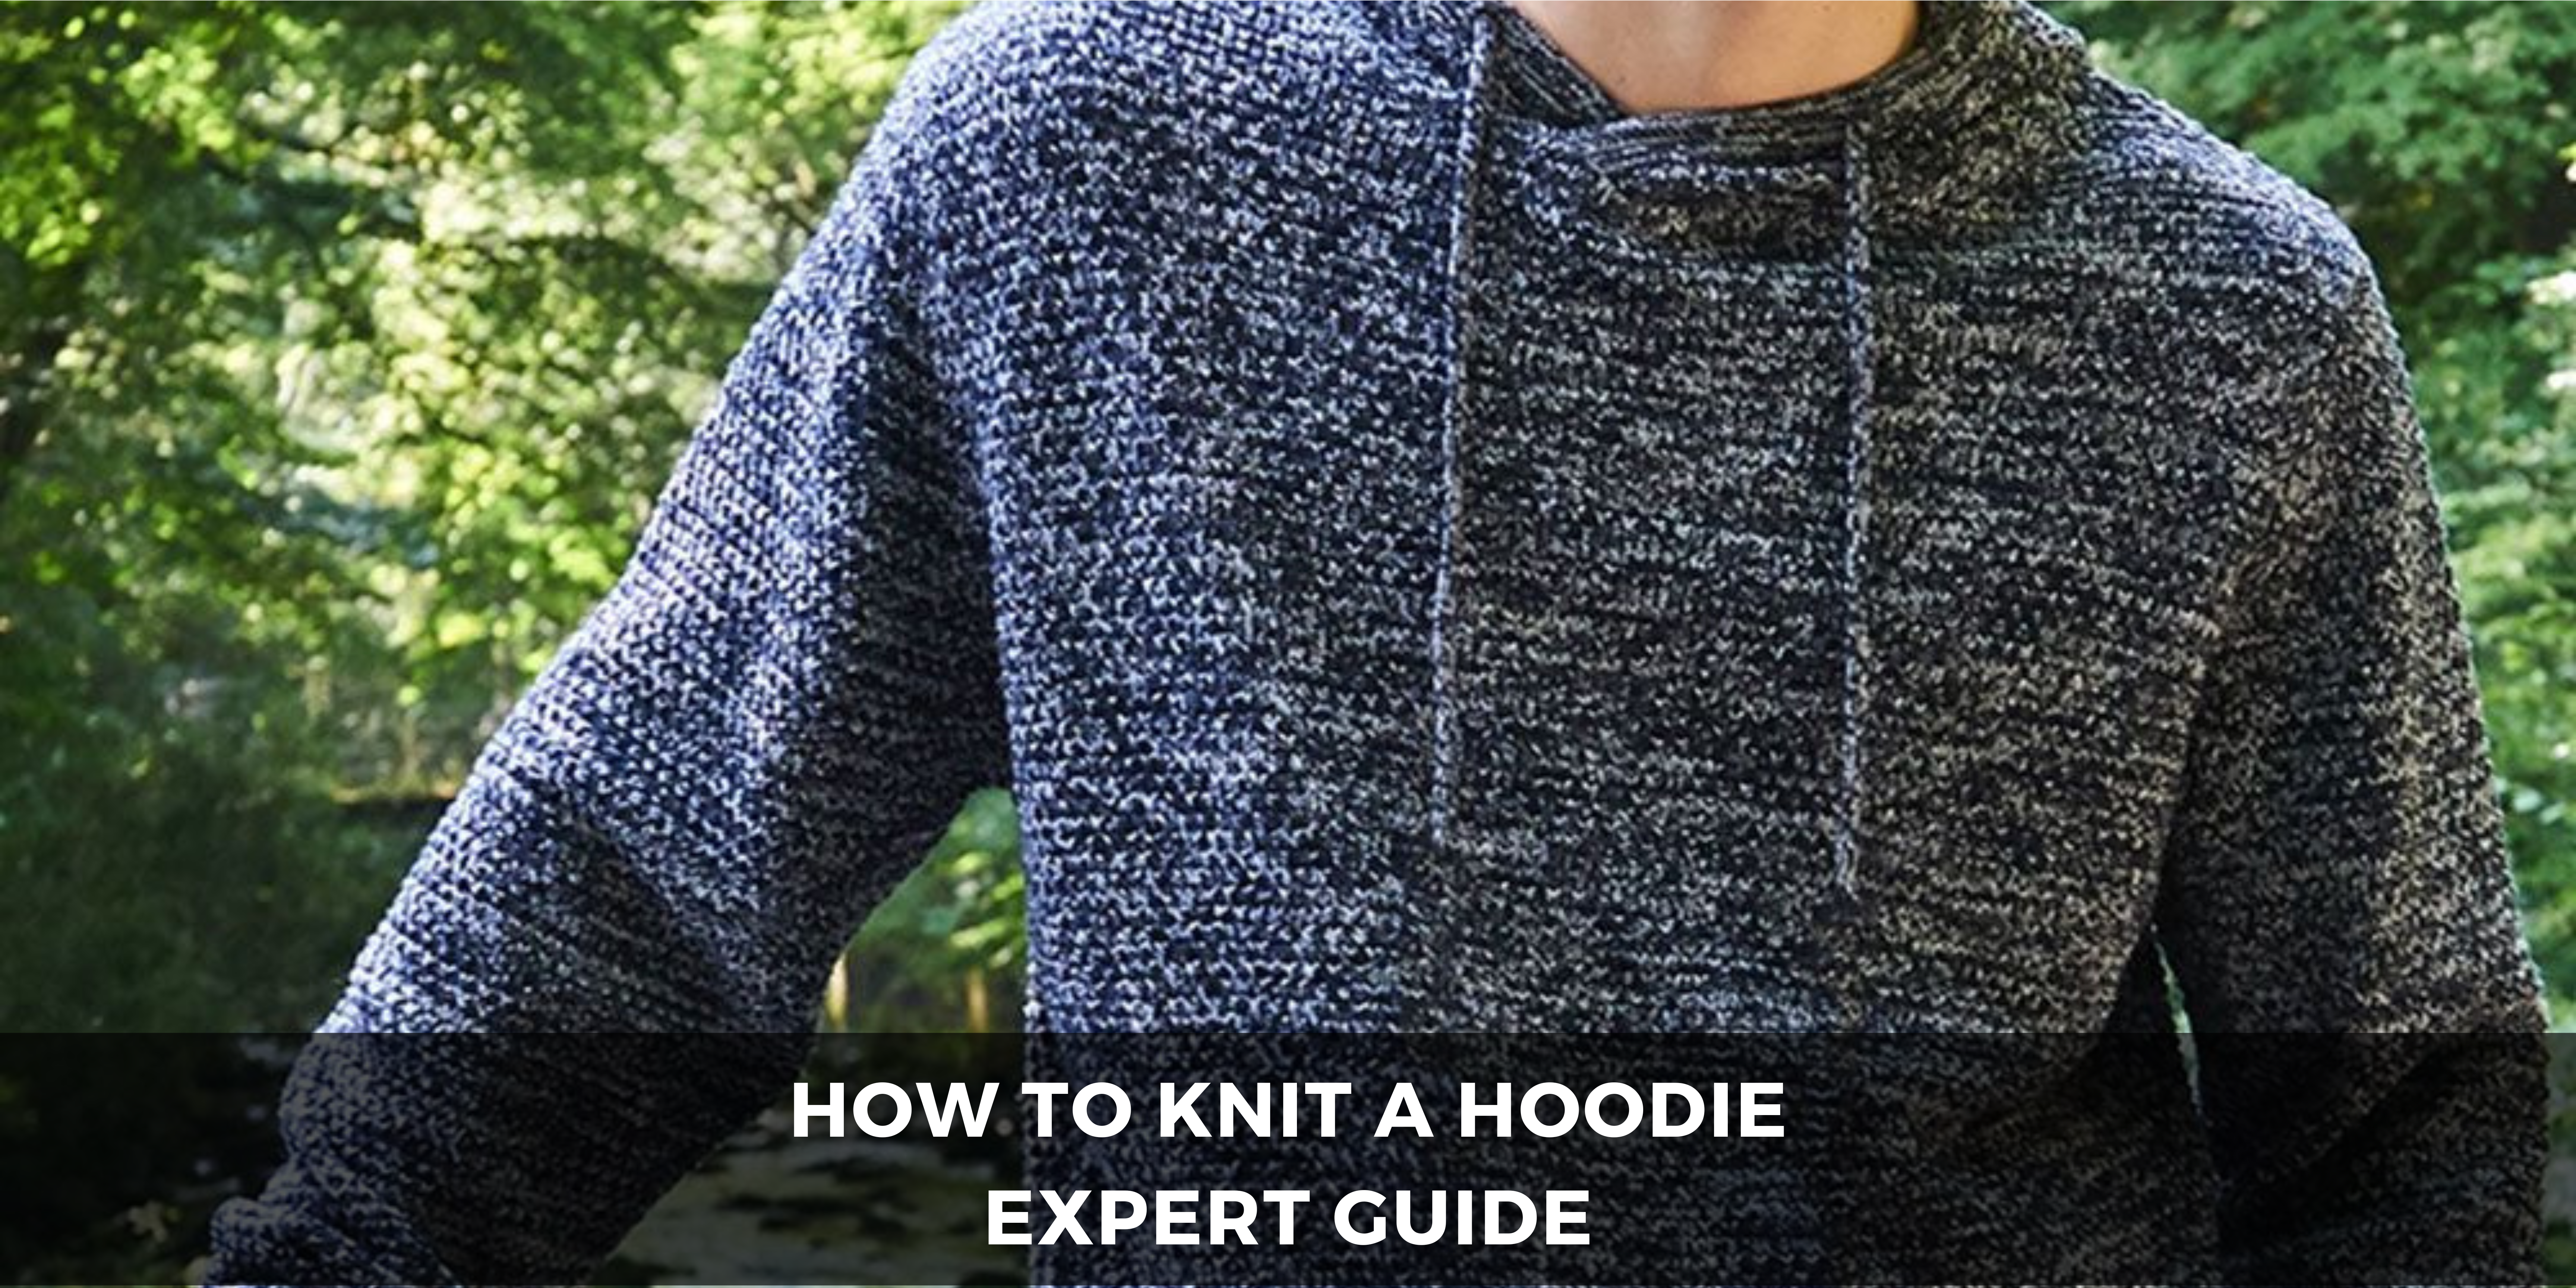
Hey there, fellow knitting enthusiasts! Are you ready to embark on a cozy crafting adventure and knit your very own hoodie? As a leather jacket fan with a soft spot for handmade fashion, I’m here to share all the tips and tricks you need to know to knit a hoodie that’s as stylish as it is snug.
Getting Started with Knitting Basics
Understanding Knitting Needles
First things first – let’s talk about knitting needles. They come in all shapes and sizes, but for a Hoodie project, you’ll likely want to use medium to large-sized needles to achieve that chunky, cozy look. And don’t forget about materials – whether you prefer bamboo, metal, or plastic, choosing the right needles can make all the difference in your knitting experience.
Selecting Yarn
Next up, let’s talk yarn! When it comes to knitting a hoodie, the type of yarn you choose can make a big difference in the final result. For a classic hoodie, consider a sturdy wool or acrylic blend. If you’re feeling fancy, you could splurge on some luxurious cashmere or alpaca yarn for an extra soft and snuggly finish. And, of course, don’t forget to consider color – whether you’re into bold brights or muted neutrals, there’s a yarn out there for every aesthetic.
Refreshing Your Skills
Now that you’ve got your materials sorted, it’s time to brush up on your knitting skills. If you’re new to knitting, don’t worry – there are plenty of resources available online to help you learn the basics. From casting on to binding off and everything in between, take some time to practice your stitches and get comfortable with the rhythm of knitting. Trust me, a little practice goes a long way!
Planning Your Hoodie Design
Sketching Your Design
Before you dive into Knit a Hoodie, take some time to plan out your hoodie design. Grab a notebook and sketch out the front, back, sleeves, and hood of your hoodie, noting any details like pockets or ribbing patterns. This will help you visualize the final product and ensure that you’re happy with the design before you start knitting.
Calculating Measurements
Once you’ve got your design sketched out, it’s time to take some measurements. Bust, waist, hip, and arm length are all important factors to consider when knit a hoodie, so grab a tape measure and get measuring. And don’t forget to add a little extra ease for a comfortable fit – nobody likes a too-tight hoodie!
Choosing Stitch Patterns
Now comes the fun part – choosing stitch patterns for your hoodie. Whether you’re into classic ribbing, cozy garter stitch, or sleek stockinette, there are endless options to choose from. Experiment with different combinations of stitches to create texture and visual interest in your hoodie design. And don’t be afraid to get creative – knitting is all about expressing yourself!
Knit a Hoodie: Step-by-Step Instructions
Casting On
With your design and measurements in hand, it’s time to cast on and get knitting! Start by casting on the required number of stitches for the front panel of your hoodie, then work your way up to the shoulders and neckline. Don’t worry if it feels a little awkward at first – casting on can be tricky, but with a little practice, you’ll get the hang of it.
Working the Body
Once you’ve cast on, it’s time to start knitting the body of your hoodie. Work in your chosen stitch pattern until the front panel reaches the desired length, then repeat the process for the back panel. Knitting in sections like this allows you to customize the fit of your hoodie and make adjustments as needed along the way.
Crafting the Sleeves
With the body of your hoodie complete, it’s time to move on to the sleeves. Pick up stitches around the armholes and work your way down to the cuffs, shaping the sleeves as you go to create a comfortable fit. And don’t forget to try your hoodie on as you knit to make sure it’s turning out just the way you want it!
Creating the Hood
Last but not least, it’s time to knit the hood of your hoodie. Pick up stitches along the neckline and work your way up, increasing gradually to create a rounded shape. Once you’ve reached the desired height, bind off your stitches and sew the hood onto the body of your hoodie – and just like that, you’ve got yourself a hooded masterpiece!
Finishing Touches and Embellishments
Adding Pockets
No hoodie is complete without pockets, so why not add some to yours? Whether you prefer kangaroo, patch, or side pockets, there are plenty of options to choose from. Knit them separately and sew them onto your hoodie, or pick up stitches and knit them in as you go – the choice is yours!
Finishing Edges
To give your hoodie a polished finish, don’t forget to add some finishing touches to the edges. Ribbing, bind-off techniques, and seam finishes can all help give your hoodie a professional-looking edge. Take your time with this step and pay attention to detail – it’s the little things that make all the difference!
Personalizing Your Hoodie
And finally, don’t be afraid to get creative and personalize your hoodie with some extra embellishments. Whether you add embroidery, appliqué, or button details, adding your unique touch to your hoodie is what makes it truly yours. So let your imagination run wild and have fun with it!
Troubleshooting and Tips
Dealing with Gauge Issues
If your hoodie ends up a little too big or too small, don’t panic – gauge issues are a common problem in knit a hoodie. Try adjusting your tension or needle size to achieve the desired fit, and don’t be afraid to rip out a few rows and start over if necessary. Remember, it’s all part of the learning process!
Fixing Mistakes
Mistakes happen to the best of us, so don’t be too hard on yourself if you make a few along the way. Dropped stitches, uneven rows, and wonky seams are all par for the course in knitting, but they’re also easily fixable with a little patience and perseverance. Take your time to correct any mistakes, and remember that practice makes perfect!
Staying Patient
Last but not least, remember to stay patient and enjoy the process of knitting your hoodie. Knitting is a labor of love, and while it may take some time and effort to complete your project, the result will be well worth it. So take breaks when you need to, don’t rush yourself, and most importantly, have fun with it!
Care and Maintenance Tips for Handknit Hoodies
Washing Recommendations
Once your hoodie is complete, it’s important to take good care of it to ensure it lasts for years to come. Handwashing is usually the best option for hand-knit garments, as it’s gentler on the fibers and helps maintain the shape and texture of your hoodie. Use a mild detergent and lukewarm water, and avoid wringing or twisting the fabric to prevent stretching or distortion.
Blocking Your Hoodie
Blocking is a technique used to reshape and set the stitches in your knitting, and it’s an important step in finishing your hoodie. Lay your hoodie flat on a clean towel or blocking mat, gently reshape it to the desired dimensions, and pin it in place. Allow it to dry completely before removing the pins, and you’ll be left with a beautifully finished hoodie that’s ready to wear.
Storing Your Hoodie
When it comes to storing your hand-knit hoodie, it’s best to fold it neatly and store it in a cool, dry place away from direct sunlight. Avoid hanging it up for long periods, as this can cause stretching and distortion of the fibers. And if you’re storing it away for the season, consider adding some lavender sachets or cedar blocks to keep moths at bay and preserve your hoodie for years to come.
And there you have it – everything you need to know to knit a hoodie from scratch! Whether you’re a seasoned knitting pro or a complete beginner, I hope this guide has inspired you to pick up your needles and get crafting. So grab your yarn and your favorite knitting needles, and let’s get started on creating the cozy hoodie of your dreams!