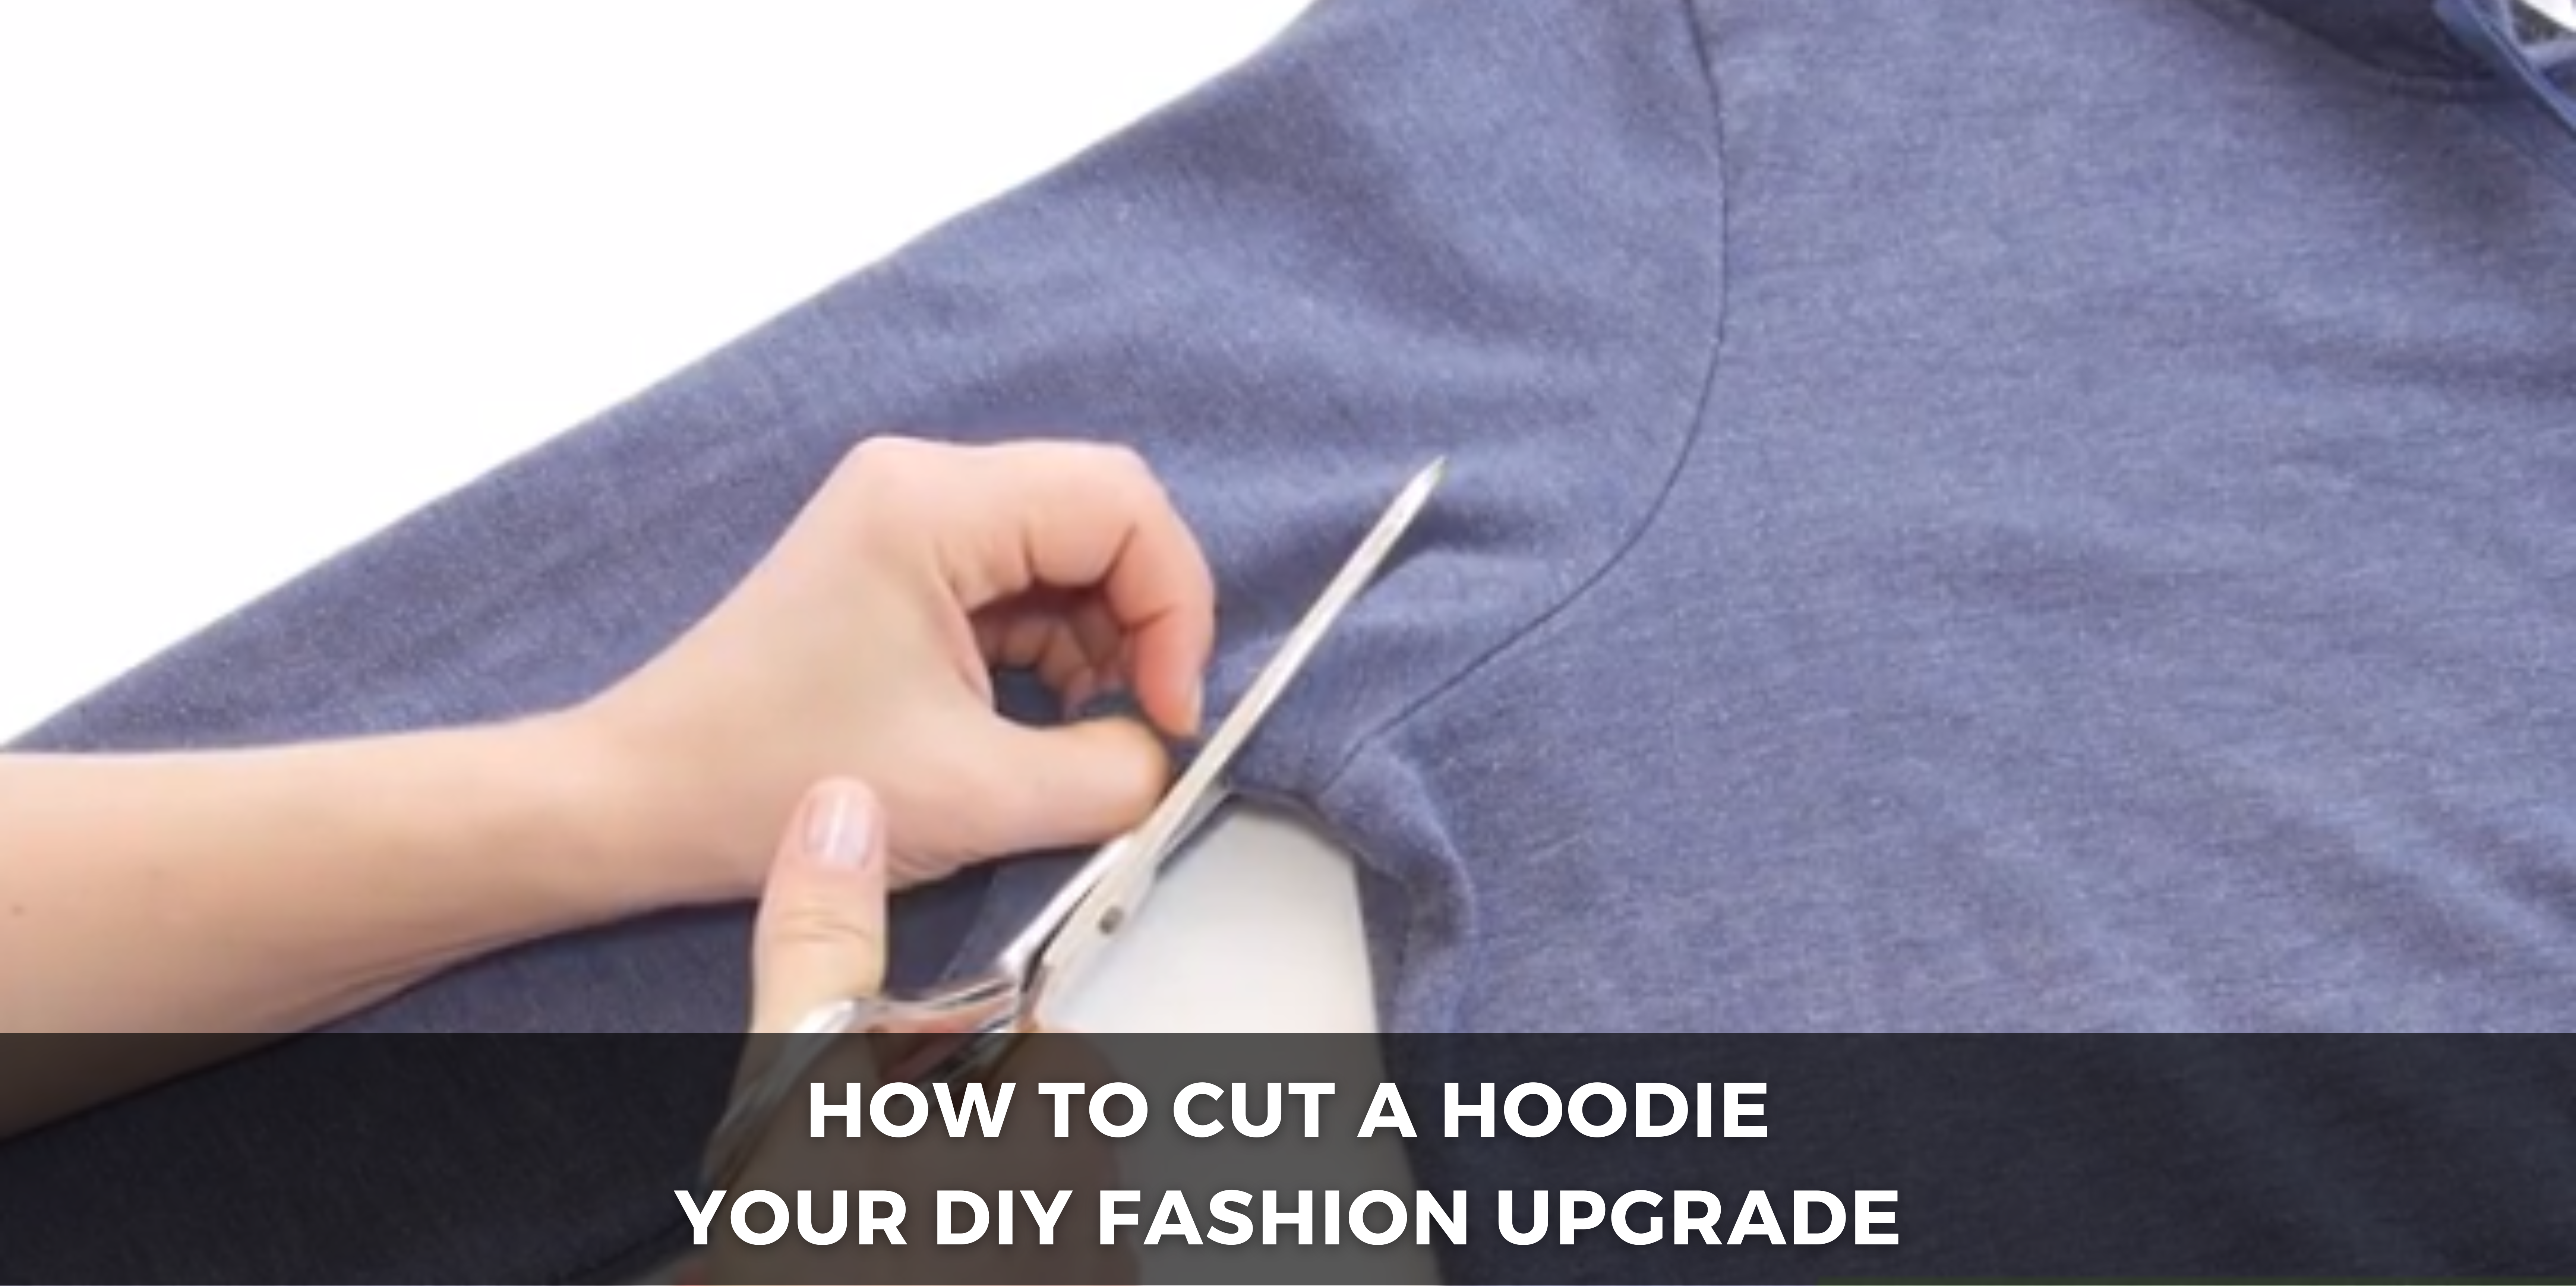
Hey there, hoodie enthusiasts and DIY fashionistas! Are you ready to take your style game to the next level? Today, I’m thrilled to share with you my expert tips on how to cut a hoodie like a pro. Whether you’re aiming for a cropped look, experimenting with asymmetrical cuts, or want to add your personal touch to your favorite hoodie, I’ve got you covered. So, grab your scissors, and let’s dive in!
Understanding the Basics to Cut a Hoodie
Before we dive into the process of cut a hoodie, let’s make sure you’re equipped with the right tools and know-how. First things first, gather your materials: a sharp pair of scissors (trust me, this makes all the difference), a ruler or measuring tape, tailor’s chalk or washable marker, and, of course, the hoodie you’re itching to transform.
Now, let’s talk about Hoodie selection. The fabric and fit of your hoodie will play a crucial role in your cutting adventure. I’ve found that cotton blends work best for beginners as they’re easy to manipulate and tend to fray less. As for fit, oversized hoodies provide more room for experimentation, but don’t let that stop you from customizing a snugger fit if that’s more your style.
Step-by-Step Guide: Cutting Your Hoodie
- Prepping Your Workspace: Find a clean, flat surface to work on and lay your hoodie out flat. This will make it easier to visualize your cuts and ensure you’re working with even fabric.
- Planning Your Design: Before you make any cuts, take a moment to sketch out your design or mark it directly on the hoodie using a tailor’s chalk or a washable marker. Whether you’re going for a classic crop or a trendy slit, having a blueprint will keep you on track.
- Marking Your Measurements: Measure twice, and cut once, as they say. Use your ruler or measuring tape to mark the areas where you’ll be cutting, making sure to keep your lines straight and even. Pro tip: If you’re going for a symmetrical look, fold your hoodie in half vertically before marking to ensure uniformity.
- Making the First Cut: Here’s where the magic happens! With steady hands and a confident grip, start cutting along your marked lines. Take it slow and steady, especially around curves or intricate designs, to avoid any unexpected snips.
- Refining Your Design: Once you’ve made your initial cuts, step back and assess your handiwork. Don’t be afraid to make adjustments as needed – fashion is all about experimentation, after all. If you’re not happy with a certain cut, stitch it back up or embellish it with patches or embroidery for a unique twist.
- Adding Personal Touches: Now comes the fun part – adding your flair to your newly customized hoodie. Whether you’re sewing on patches, adding fringe, or dazzling with rhinestones, let your creativity run wild. After all, this hoodie is a reflection of you!
Tips and Techniques for a Professional Finish
- Sharp Scissors Are Your Best Friend: Seriously, invest in a good pair of scissors. Dull blades can lead to jagged edges and frayed fabric, so keep them sharp!
- Know Your Fabrics: Different fabrics require different cutting techniques. While cotton blends are forgiving, stretchy fabrics like jersey knit may require more finesse. Experiment with scraps before diving into your main project.
- Embrace Imperfections: Fashion is subjective, and sometimes a little imperfection adds character to your piece. Don’t stress over every tiny flaw – embrace them as part of your unique style.
Post-Cut Care and Styling Tips
- Washing and Drying: Once you’ve finished cutting and customizing your hoodie, be sure to give it a gentle wash to remove any stray fibers or markings. Follow the care instructions on the garment tag to keep your creation looking fresh for years to come.
- Styling Your Customized Piece: Now that you’ve transformed your hoodie into a one-of-a-kind masterpiece, it’s time to show it off! Pair it with your favorite jeans and sneakers for a casual look, or dress it up with a skirt and boots for a night out on the town.
- Sharing Your Creation: Don’t be shy – share your DIY masterpiece with the world! Whether it’s on social media, at a local fashion show, or just strutting down the street, let your creativity shine and inspire others to embrace their unique style.
Congratulations, you’ve officially leveled up your fashion game! To cut a hoodie you maybe seem daunting at first, but with the right tools, techniques, and a sprinkle of creativity, you can transform any old hoodie into a personalized work of art. So, go ahead – grab those scissors and start snipping away. Your wardrobe will thank you!

