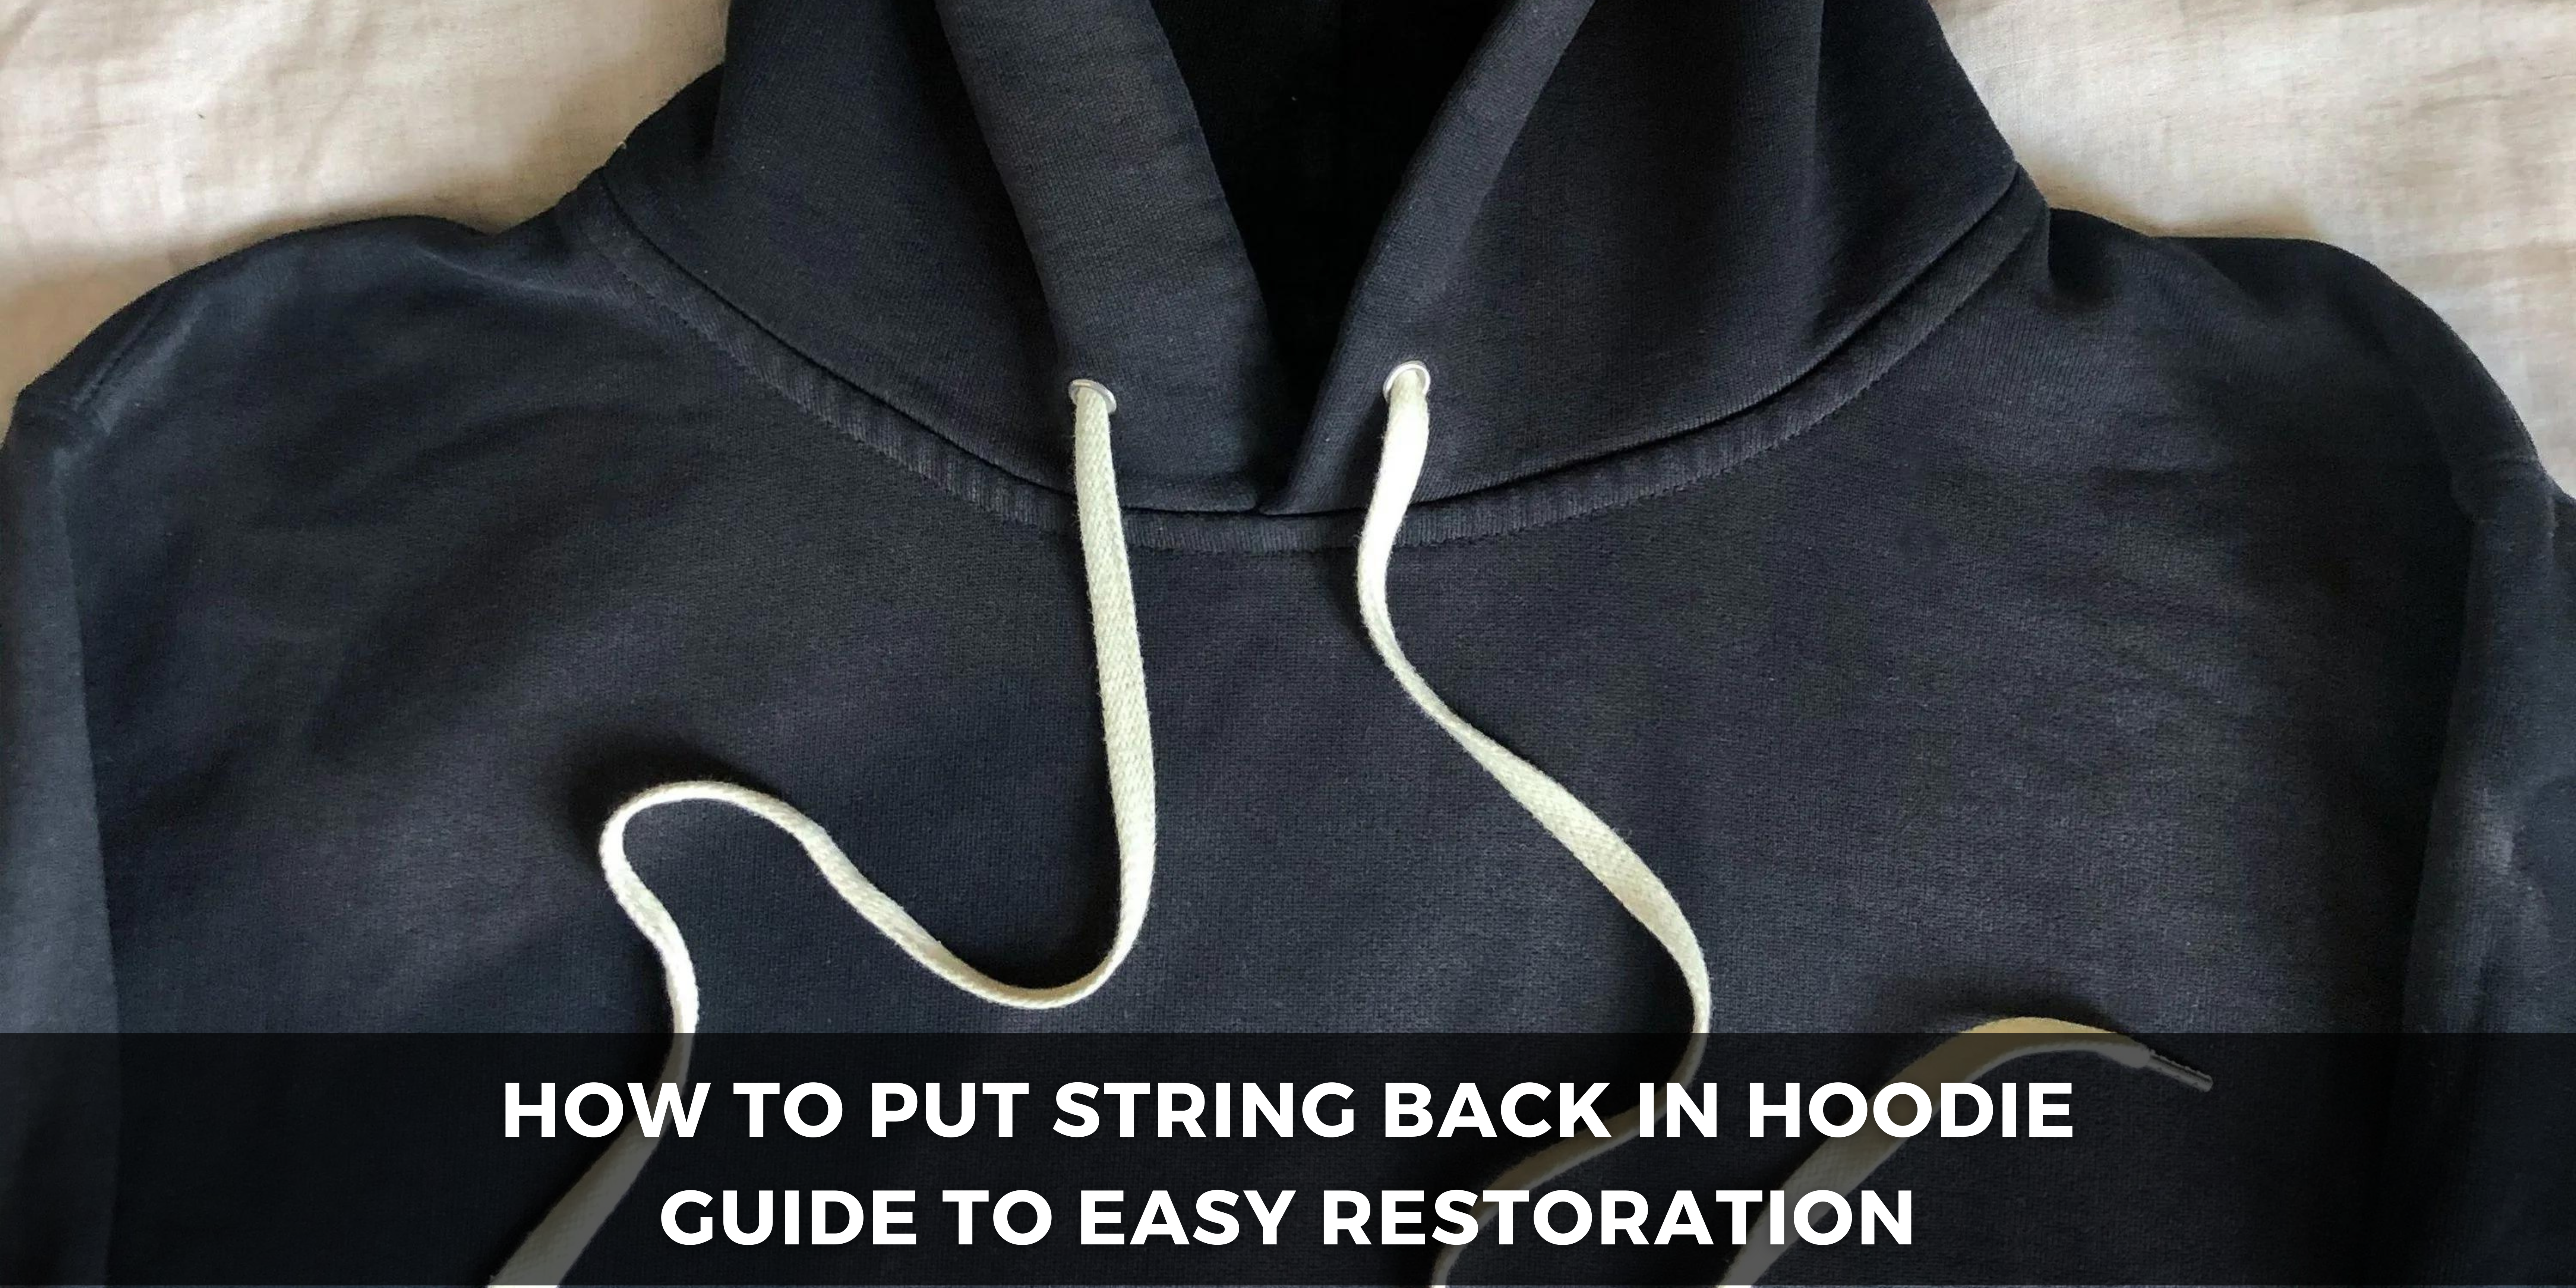
Hey there, hoodie lovers! So, you’ve got your favorite hoodie. The one you practically live in? But, uh-oh, the drawstring’s gone AWOL, and your hood is feeling quite naked. Don’t worry, we’ve all been there. As a self-proclaimed hoodie addict and someone who’s struggled to restring a drawstring or two in their time, let me be your guide to put string back in hoodie.
Let’s Get Acquainted with Your Hoodie:
Alright, first things first, let’s talk about what makes your Hoodie tick. It’s not just about looking cool; it’s about comfort, too, and that drawstring plays a crucial role. It’s what keeps your hood snug when the wind’s blowing a gale or when you’re trying to keep a low profile during a Netflix binge. From classic cotton to funky paracord, hoodies come in all shapes and sizes, and so do their drawstrings.
Assessing the Damage:
Now, take a good, hard look at your hoodie. Is the drawstring frayed, snapped, or just plain MIA? It happens to the best of us. I remember one time I was so busy jamming out to my favorite tunes that I accidentally closed the car door on my drawstring. Ouch! Accidents happen. The important thing is to assess the damage and figure out what needs fixing. Sometimes, it’s just a matter of a small fray, while other times, you might need a whole new string.
Preparing to Put String Back in Hoodie:
Alright, time to gear up for the task at hand. You’re going to need a few things: a replacement drawstring (obviously), a safety pin, scissors, and maybe a needle and thread if your hoodie’s feeling particularly needy. Oh, and a bit of patience wouldn’t hurt either. Trust me; it’ll pay off in the end. I remember the first time I attempted to restart a hoodie; I was so eager to get it done quickly that I ended up with a tangled mess. Lesson learned: take your time and do it right the first time.
Let’s Get Stringing:
Okay, this is where the magic happens. Take one end of your replacement drawstring and secure it with a safety pin. Now comes the fun part—threading it through the hoodie’s channel. It can be a bit fiddly at first, but once you get the hang of it, you’ll be threading like a pro. Just watch out for those pesky knots and tight spots; they’re the bane of every hoodie stringer’s existence. I find that using a bit of patience and gentle maneuvering can help ease the drawstring through those tricky spots without causing too much frustration.
Finishing Touches:
You’re almost there, champ! Once you’ve successfully threaded that drawstring back where it belongs, give yourself a pat on the back. But wait, there’s one last step—trimming any excess string and securing the ends to prevent unraveling. No one wants a hoodie with a string dangling like a wayward appendage, am I right? A quick snip and a few stitches will ensure that your drawstring stays put and your hoodie stays looking fresh.
Maintaining Your Restored Hoodie:
Now that you put string back in hoodie let’s talk about keeping it that way. Regular maintenance is key to prolonging the life of your favorite garment. One simple trick is always to wash your hoodie inside out to prevent excessive wear and tear on the drawstring. Avoid using harsh detergents or bleach, as they can weaken the fabric and cause the drawstring to fray prematurely. Instead, opt for a gentle detergent and wash your hoodie on a cold, delicate cycle.
Troubleshooting Tips:
Even with the best intentions, sometimes things don’t go according to plan. If you’re having trouble threading the drawstring through the hoodie’s channel, don’t panic. Take a deep breath and try these troubleshooting tips:
- If the drawstring keeps getting stuck, try using a bit of lubricant, such as soap or fabric softener, to help it glide through more smoothly.
- If you accidentally pull the drawstring all the way through, don’t despair. Attach a safety pin to one end and carefully feed it back through the channel.
- If the channel is too narrow or tight, gently stretch it out with your fingers or a blunt object before attempting to rethread the drawstring.
Embracing Creativity:
Who says hoodie strings have to be boring? Embrace your inner DIY enthusiast and get creative with your drawstring replacements. Try swapping out the standard cotton string for something a bit more eye-catching, like colorful paracord or even leather laces. Not only will it add a unique touch to your hoodie, but it’ll also make it easier to spot in a sea of plain old drawstrings.
Sharing Your Expertise:
Congratulations, Now you put string back in hoodie! Share your newfound knowledge with friends and family who might be facing similar string-related dilemmas. Host a hoodie restoration party and turn it into a fun DIY project for everyone to enjoy. Who knows, you might start a whole new trend in drawstring fashion!
And there you have it, a comprehensive guide to put string back in hoodie and keeping it there. From assessing the damage to troubleshooting any hiccups along the way, you’re now equipped with all the tools and know-how to tackle this common wardrobe dilemma like a pro. So go ahead, grab that hoodie, and give it the TLC it deserves. After all, a well-loved hoodie is a happy hoodie, and with a little care and attention, yours will be with you for many cozy days to come. Stay stylish, stay comfortable, and most importantly, stay true to your hoodie-loving self!

