
Hey there, hoodie lovers! Have you ever bought a hoodie that you absolutely adore, but there’s just one problem—the logo on it doesn’t quite match your style? Well, fear not! In this guide, we’re going to dive into the world of how to remove logo from hoodies and show you how to customize your hoodies to perfection. So, grab your hoodie, and let’s get started!
Understanding Hoodie Logos
Why Remove Logo from Hoodies?
Before we jump into the nitty-gritty of remove logo from Hoodies, let’s talk about why you might want to remove a logo from your hoodie in the first place. You may love the hoodie itself but aren’t a fan of the brand logo plastered across the front. You may want to add your personal touch to your favorite hoodie. Whatever your reason, knowing how to remove logos gives you the freedom to customize your hoodies to suit your unique style.
Types of Logos
When it comes to hoodie logos, there are a few different types you might encounter. There are embroidered logos, which are stitched directly onto the fabric. Then, there are printed logos, which are applied using ink or paint. And let’s not forget about appliquéd logos, which are patches sewn onto the hoodie. Each type of logo may require a slightly different removal method, so it’s important to know what you’re dealing with before you get started.
Preparing for Logo Removal
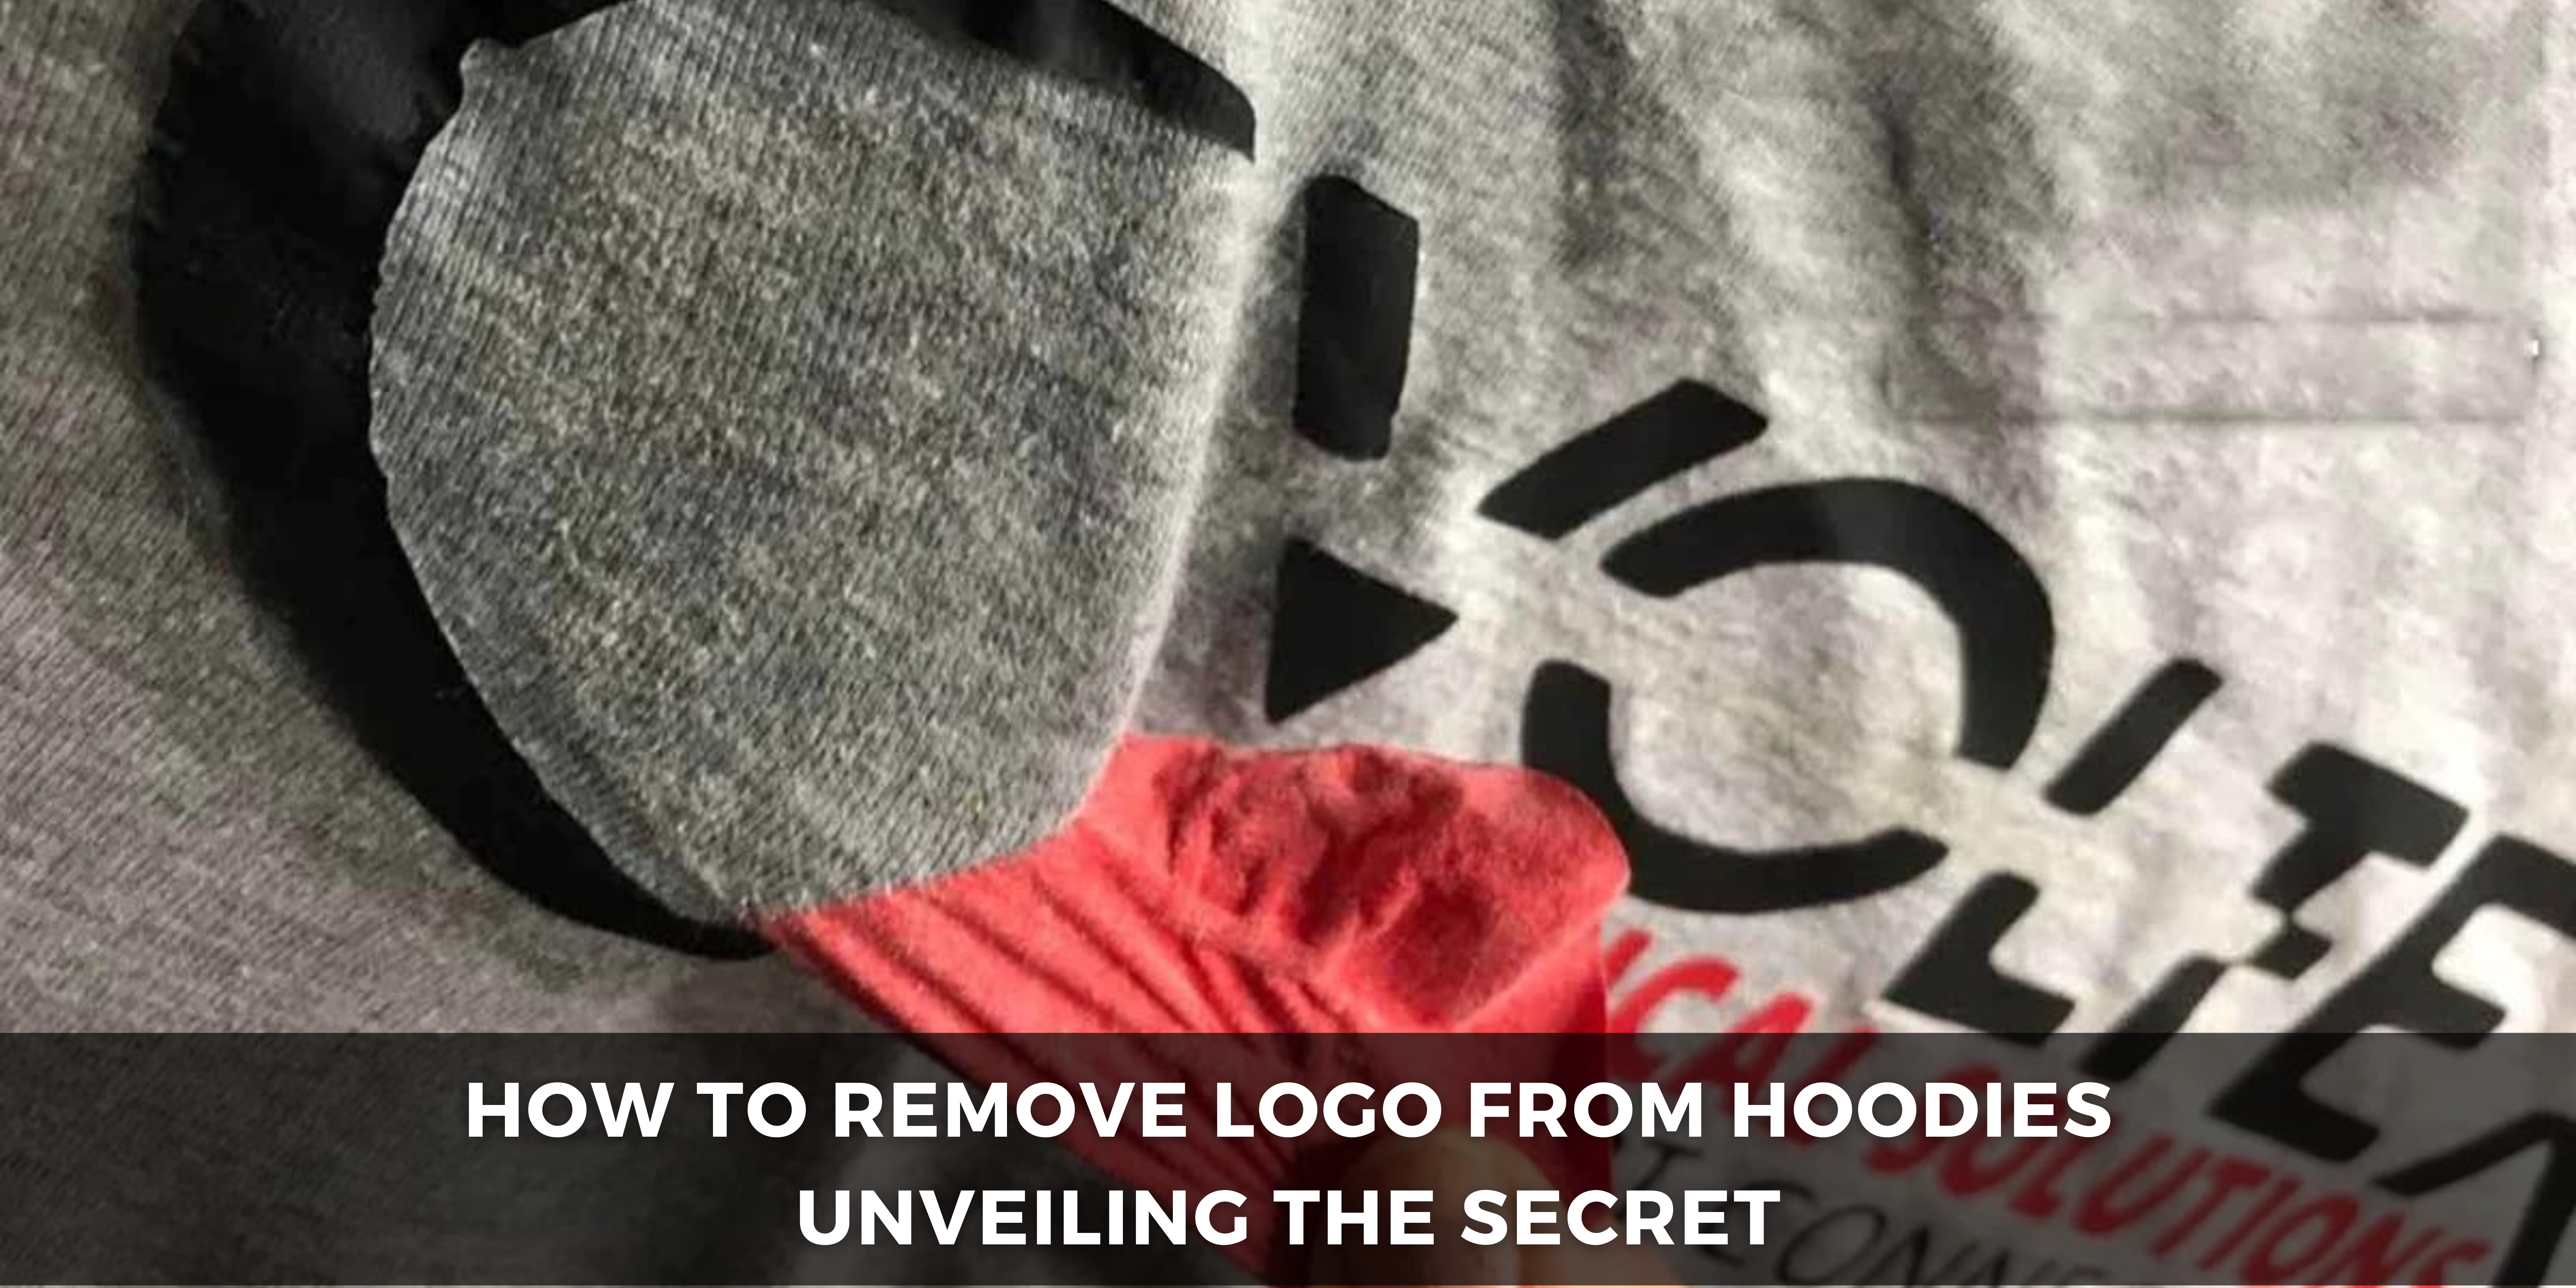
Assessing the Situation
Before you bust out the seam ripper or scissors, take a close look at the logo on your hoodie. Is it stitched on, printed on, or a patch? This will help you determine the best removal method to use. If you’re unsure, it’s always a good idea to test a small, inconspicuous area of the hoodie first to see how it reacts to your chosen removal method.
Gathering Your Tools
Once you know what type of logo you’re dealing with, gather your tools for the removal process. You might need a seam ripper for stitched logos, scissors or a utility knife for cutting out logos, or fabric adhesive remover or acetone for dissolving printed or adhesive logos. Having the right tools on hand will make the removal process much smoother.
Methods for Logo Removal
Seam Ripping Method
If you’re dealing with a stitched logo, the seam-ripping method is your best bet. Start by carefully cutting the threads that hold the logo in place using a seam ripper. Take your time and work slowly to avoid damaging the surrounding fabric or stitches. Once the threads are cut, gently remove the logo from the hoodie.
Cutting Method
For logos that are printed on or appliquéd, the cutting method is often the most effective. Use sharp scissors or a utility knife to carefully cut around the edges of the logo, removing it from the hoodie. Again, take your time and work slowly to ensure clean and precise cuts.
Chemical Method
If you’re dealing with a stubborn printed or adhesive logo, you may need to resort to the chemical method. Apply fabric adhesive remover or acetone to the logo using a cotton ball or Q-tip, then gently rub the area to dissolve the logo. Be sure to follow the instructions on the product carefully and use caution when handling chemicals.
Post-Removal Care Tips
Give It a Wash
Once you’ve successfully remove logo from hoodies, please give it a thorough wash to remove any residue or lingering odor from the removal process. Use a gentle detergent and wash the hoodie according to the care instructions on the label.
Inspect for Damage
After washing, take a close look at the hoodie to make sure there’s no damage or discoloration caused by the logo removal process. If you notice any issues, don’t panic! There are ways to fix mistakes or repair damage, so don’t be afraid to get creative.
Troubleshooting Common Issues
Dealing with Residue
If you’re left with residue from the logo removal process, don’t worry. You can try using a bit of fabric adhesive remover or acetone to dissolve the residue, then wash the hoodie again to remove any leftover traces.
Fixing Mistakes
If you accidentally damage the fabric or stitches while removing the logo, don’t despair. Try sewing a patch over the area to cover up any imperfections, or get creative with embroidery or fabric paint to add your flair.
Tips for Successful Logo Removal
Take Your Time
One of the most important tips for successful logo removal is to take your time. Rushing through the process can lead to mistakes and damage to your hoodie. So, slow down, be patient, and work carefully to ensure the best results.
Start Small
If you’re new to logo removal, it’s a good idea to start with a small and inconspicuous logo first. This will give you a chance to practice your technique and get a feel for how the removal process works before tackling larger logos.
Use Sharp Tools
When removing logos, it’s essential to use sharp tools to ensure clean and precise cuts. Dull scissors or seam rippers can lead to jagged edges and damage to the fabric. So, make sure your tools are sharp and in good condition before getting started.
Test Before You Remove
Before diving into logo removal, it’s a good idea to test your chosen removal method on a small, hidden area of the hoodie. This will allow you to see how the fabric reacts to the method and determine whether it’s safe to proceed with the removal process.
Protect the Surrounding Fabric
When removing logos, it’s important to protect the surrounding fabric from damage. You can do this by placing a piece of cardboard or a cutting mat underneath the area you’re working on to prevent accidental cuts or tears.
Remove Logo from Hoodies might seem daunting at first, but with the right tools and techniques, it’s totally doable. Whether you’re looking to add your personal touch to your favorite hoodie or want to switch up the branding, knowing how to remove logos gives you the freedom to customize your hoodies to suit your style. So go ahead, give it a try, and rock your customized hoodie with pride!