
Hey there, hoodie enthusiasts! Have you ever found yourself with a hoodie that’s missing its strings or has them all tangled up? Don’t worry—we’ve all been there. But fear not, because today, I’m going to walk you through the process of how to restring a hoodie like a pro. As someone who’s had their fair share of hoodie mishaps, I’ve picked up a few tricks along the way that I’m excited to share with you. So grab your hoodie, and let’s get started!
The Importance to Restring a Hoodie:
Alright, let’s kick things off by talking about why Hoodie strings are so important. Sure, they might seem like just a small detail, but trust me, they play a big role in the overall look and functionality of your hoodie. From adjusting the hood for a snug fit to adding a touch of style, hoodie strings are like the cherry on top of your favorite hoodie sundae.
Assessing the Damage:
First things first, let’s take a good look at the condition of your hoodie strings. Are they frayed at the ends? Tangled beyond recognition? Or worse, completely MIA? Don’t panic—we’ll get through this together. Take a deep breath and assess the situation. Once you know what you’re dealing with, we can move on to the next step.
Choosing Replacement Strings:
Now that you’ve assessed the damage, it’s time to find some replacement strings. Lucky for you, there are plenty of options out there, from basic cotton cords to fancy paracords in every color of the rainbow. Consider the thickness and length of your hoodie’s original strings, and choose replacements that match as closely as possible. Trust me, it’ll make the restringing process a whole lot easier.
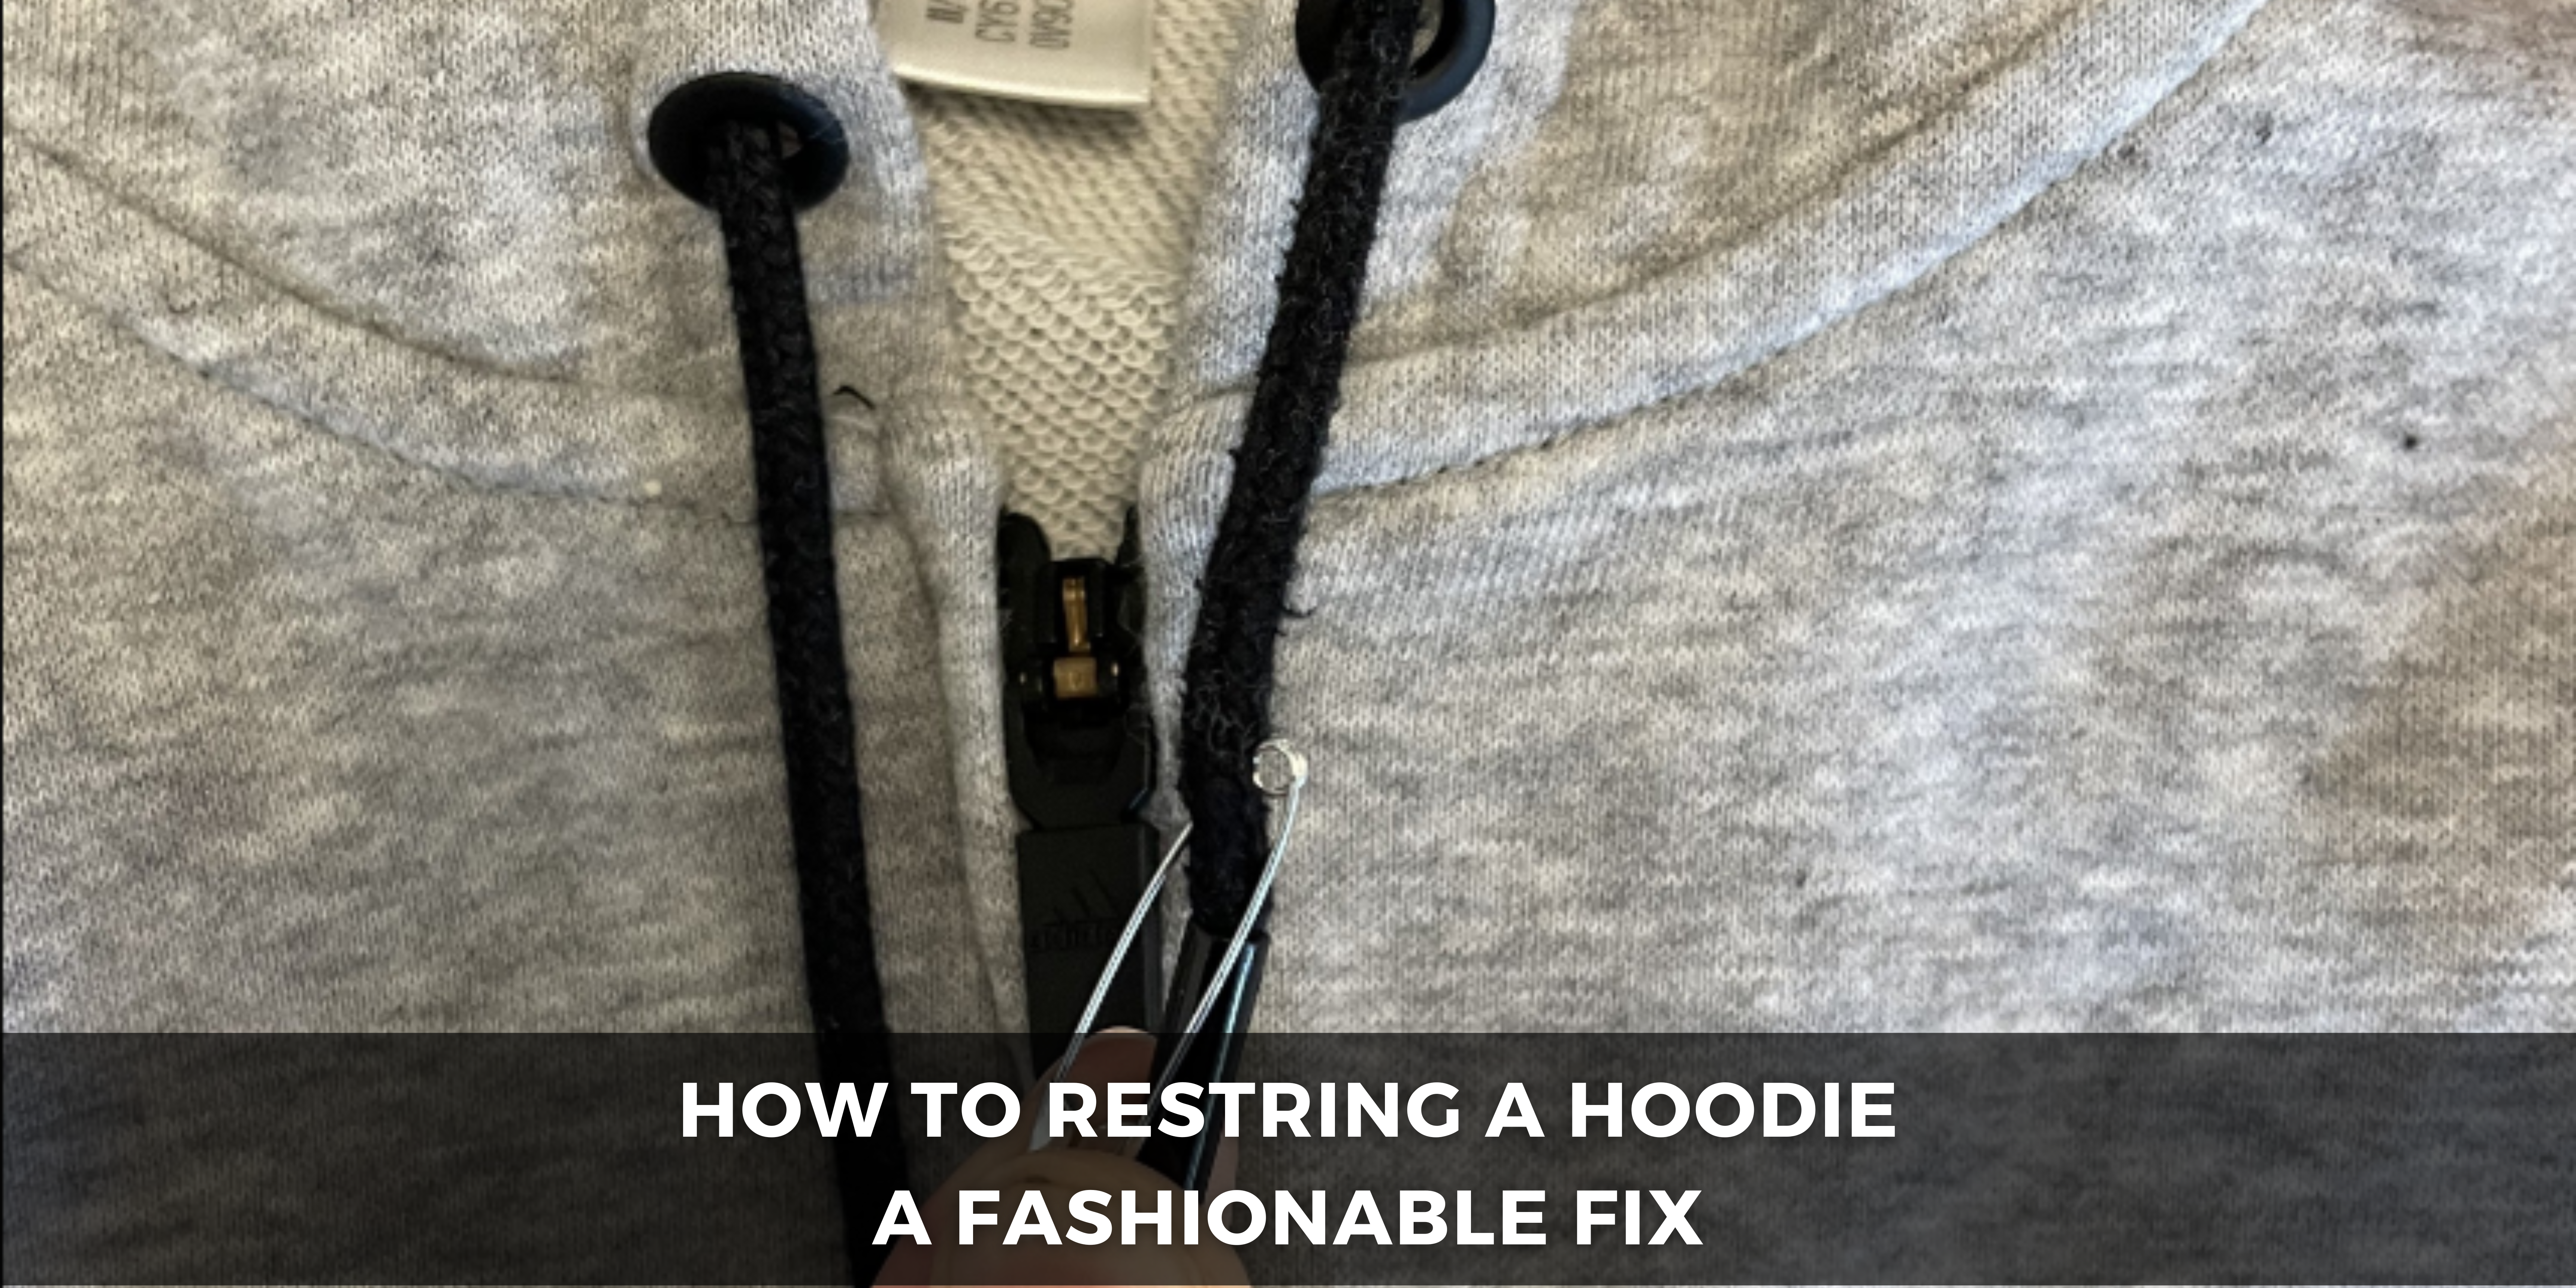
Preparing Your Hoodie:
Before we dive into restring a hoodie, let’s make sure your hoodie is ready for action. Start by removing any remaining bits of string or knots from the hood. If your hoodie is looking worse for wear, give it a quick wash to freshen it up before adding the new strings.
Restringing Techniques:
Alright, now for the fun part—restring a hoodie! There are a few different methods you can use, but I’ll walk you through two of the most common ones: the “thread-through” method and the “safety pin” method. Choose whichever one feels most comfortable to you, and let’s get started!
Troubleshooting Tips:
As with any DIY project, things don’t always go according to plan. If you find yourself getting tangled up in knots or struggling to thread the string through the hood, don’t worry. Take a deep breath, step back for a moment, and try again. And if all else fails, there’s no shame in asking for help from a friend or family member.
Finishing Touches:
Once you’ve successfully restringed your hoodie, it’s time for the finishing touches. Make sure the strings are nice and tight, and adjust them to your desired length. And hey, why not add a little personal flair while you’re at it? Tie on some funky beads or charms to make your hoodie uniquely yours.
Maintaining Your Restringed Hoodie:
Now that your hoodie is looking fresh and restringed, it’s important to keep it that way. Be sure to follow the care instructions for your hoodie to prevent the strings from getting tangled or frayed again. And if you ever need to restring your hoodie in the future, you’ll know exactly what to do!
Personal Touches:
I’ll never forget the time I had to restring my favorite hoodie after the strings got all tangled up in the wash. It was a bit of a hassle at first, but once I got the hang of it, it felt like a badge of honor. Now, every time I wear that hoodie, I’m reminded of the time and effort I put into restoring it to its former glory.
Embracing Creativity:
Restringing your hoodie isn’t just about functionality—it’s also an opportunity to get creative and add a personal touch to your favorite garment. Consider experimenting with different types of strings, like colorful shoelaces or braided cords, to give your hoodie a unique look. You can also try tying fun knots or adding beads and charms for extra flair. Let your imagination run wild and make your hoodie truly one-of-a-kind!
Sharing the Experience:
Restringing a hoodie can be a fun and rewarding experience, but it’s even better when you share it with others. Consider turning it into a DIY project with friends or family members. Gather around the kitchen table with some snacks and drinks, put on some music, and make a day of it. Not only will you end up with beautifully restringed hoodies, but you’ll also make memories that will last a lifetime.
Reflecting on the Journey:
As you put the finishing touches on your restringed hoodie, take a moment to reflect on the journey you’ve been on. From assessing the damage to choosing replacement strings to mastering the restringing techniques, you’ve come a long way. And now, as you slip on your freshly restringed hoodie, you can’t help but feel a sense of pride and accomplishment. It’s not just a hoodie—it’s a testament to your perseverance and creativity.
Extending the Life of Your Hoodie:
By restringing your hoodie, you’re not just giving it a new lease on life—you’re also extending its lifespan. With proper care and maintenance, your restringed hoodie can continue to bring you comfort and style for years to come. Be sure to follow the care instructions, avoid washing it too frequently, and store it properly when not in use. With a little TLC, your hoodie will be your loyal companion for many more adventures to come.
Final Thoughts:
As we wrap up our journey through the world of how to restring a hoodie, I want to leave you with a few final thoughts. Restringing a hoodie may seem like a small task, but it’s one that can make a big difference in the life of your favorite garment. So don’t be afraid to roll up your sleeves, grab some replacement strings, and give it a go. And remember, whether you’re restringing your hoodie for function or fashion, the most important thing is to have fun and enjoy the process. Happy restringing, hoodie lovers!